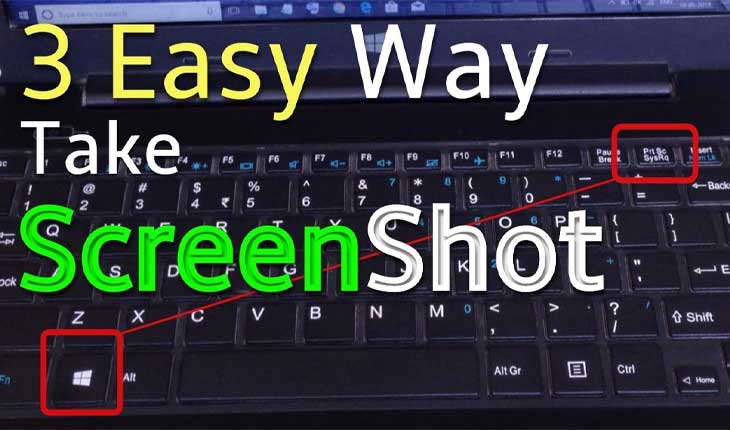
Taking a screenshot is an easy way to save and share information on your laptop. Whether you need to capture an image or save an error message, learning how to take a screenshot on your laptop is a useful skill. In this article, we will guide you through the different ways to take a screenshot on a laptop.
- Windows Laptop
On a Windows laptop, there are three different ways to take a screenshot.
Option 1: Full-screen screenshot
- Press the PrtScn (Print Screen) button on your keyboard. This will capture an image of your entire screen.
- Open any image editor or word processing software (such as Microsoft Word) and paste the image by pressing Ctrl+V or right-clicking and selecting “Paste.”
- Save the image by clicking “Save As” in the File menu.
Option 2: Active window screenshot
- Open the window you want to capture.
- Press Alt+PrtScn. This will capture an image of the active window.
- Follow the same steps as above to paste and save the image.
Option 3: Windows Snipping Tool
- Type “Snipping Tool” into the search bar in the Windows Start menu.
- Open the Snipping Tool and select “New.”
- Click and drag your cursor over the area you want to capture.
- Save the image by clicking “Save As” in the File menu.
- Mac Laptop
On a Mac laptop, there are two different ways to take a screenshot.
Option 1: Full-screen screenshot
- Press Command+Shift+3 on your keyboard. This will capture an image of your entire screen.
- The image will be saved to your desktop automatically.
Option 2: Selected area screenshot
- Press Command+Shift+4 on your keyboard. This will turn your cursor into a crosshair.
- Click and drag the crosshair over the area you want to capture.
- The image will be saved to your desktop automatically.
- Chromebook Laptop
On a Chromebook laptop, there are two different ways to take a screenshot.
Option 1: Full-screen screenshot
- Press Ctrl+Window Switcher button (located above the number 6 on your keyboard). This will capture an image of your entire screen.
- The image will be saved to your downloads folder automatically.
Option 2: Selected area screenshot
- Press Ctrl+Shift+Window Switcher button. This will turn your cursor into a crosshair.
- Click and drag the crosshair over the area you want to capture.
- The image will be saved to your downloads folder automatically.
In conclusion, taking a screenshot on a laptop is a quick and easy process, regardless of whether you’re using a Windows, Mac, or Chromebook laptop. By following the steps outlined above, you’ll be able to capture and save important information, images, and error messages with ease. Don’t hesitate to use this handy feature whenever you need to capture and share information.

