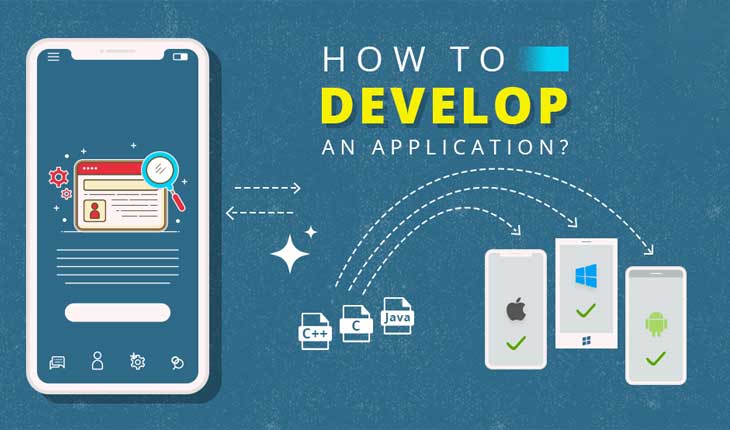
Android app development has become a popular career choice and a lucrative business opportunity. With more and more people using smartphones and tablets, the demand for mobile apps is skyrocketing. Creating an Android app may seem daunting, but it’s not as complicated as it sounds. In this article, we’ll guide you through the basics of Android app development and show you how to create your own app.
- Choose Your App Idea
The first step in creating an Android app is to come up with an idea. Think about the problem you want to solve or the need you want to fulfill. Your app should provide value to your users and be easy to use. Do some market research to make sure there is a demand for your app.
- Plan Your App
Once you have your idea, it’s time to plan your app. Define the features and functionality you want to include in your app. Create a wireframe or a prototype to visualize the user interface and user experience.
- Set Up Your Development Environment
To start developing your app, you need to set up your development environment. You will need a computer running Windows, macOS, or Linux, and install Android Studio, the official integrated development environment (IDE) for Android app development. Android Studio provides a comprehensive set of tools to build, test, and deploy your app.
- Learn Java or Kotlin
Java and Kotlin are the two programming languages used to develop Android apps. Java is a mature language and has been used for Android app development for many years. Kotlin is a newer language and has gained popularity among Android developers because of its simplicity and conciseness. You don’t need to be an expert in Java or Kotlin to develop an Android app, but you need to learn the basics of object-oriented programming (OOP) and understand the Android app architecture.
- Build Your App
Now it’s time to start building your app. In Android Studio, create a new project and choose the activity you want to start with. Activities are the building blocks of Android apps and represent screens that users interact with. You can add UI components, such as buttons, text fields, and images, to your activity and write the code to handle user input and perform actions.
- Test Your App
Testing your app is an essential part of the app development process. Android Studio provides a range of testing tools to help you test your app on different devices and configurations. You can use the Android Emulator to simulate different devices and screen sizes, or you can connect a physical device to your computer and test your app directly on it.
- Publish Your App
Once you have tested your app and made sure it’s ready for release, it’s time to publish it on the Google Play Store. The Google Play Store is the largest app store for Android apps, and it’s where users go to discover and download apps. To publish your app on the Google Play Store, you need to create a developer account and follow the submission process.
Conclusion
Android app development can be a rewarding and profitable venture if you have the right idea and the skills to bring it to life. With the help of Android Studio and the Android developer community, you can create your own app and share it with the world. Remember to keep your users’ needs in mind and focus on creating a great user experience. Good luck with your Android app development journey!

